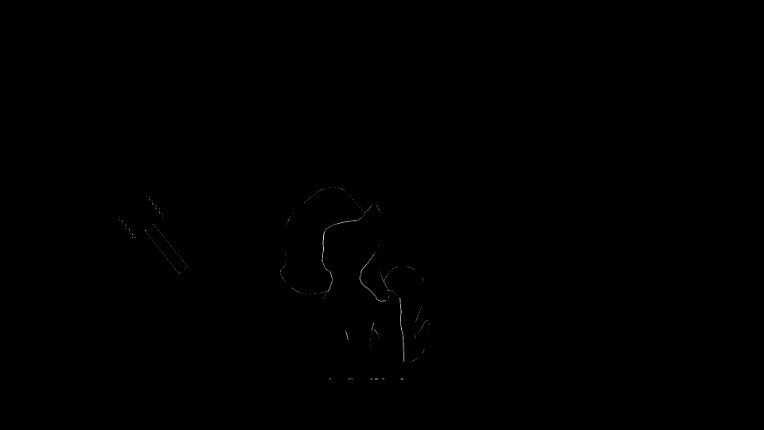
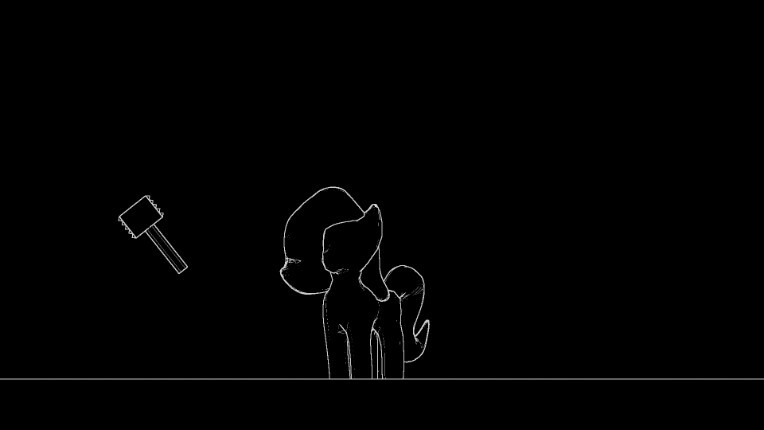
So by default, our color-ramp should've made our final composite look pure black. Like I was saying, move the white color stop to the left, and watch as outlines appear.

And it's important you don't bring it too far to the left, or you'll start getting outlines in places you might not want them in. (Also don't worry, I accidentally moved the hammer and accidentally hit render again, that's not anything to do with the compositor.)
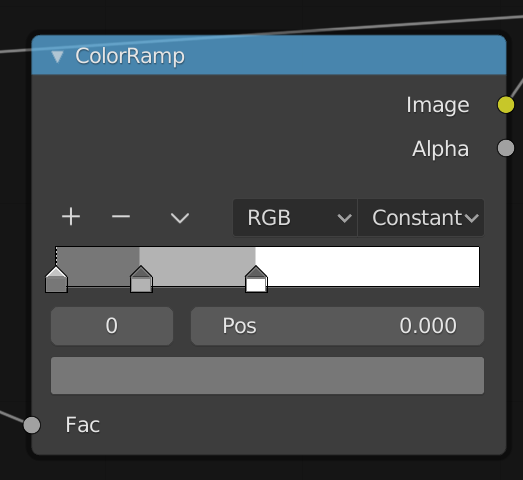
Now we have an outline, albeit it's got no anti-aliasing, and looks very pixel-y. One solution to this is instead of using the "Constant" interpolation mode and moving the white stop to the left, we set it back to linear, move the white stop back to the right, and instead move the black color stop from the left to the right.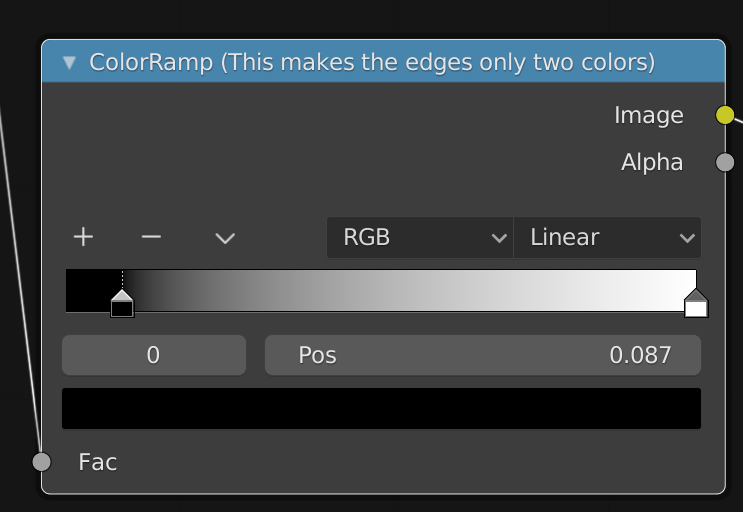
Now the effect is a lot cleaner, with smoother, somewhat-anti-aliased lines.
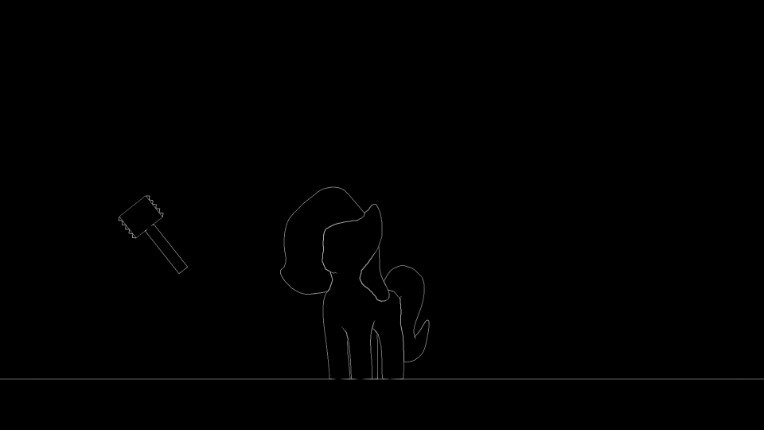
However, this does have a few issues. The Color Ramp is replacing any outline or color or pixels under it's value with pure black, so our "Anti-aliasing" stops prematurely and the outlines are still kinda pixel-y. Just less. That's why I don't recommend this method. And also with that said, I will not be using this method for the rest of the blog.
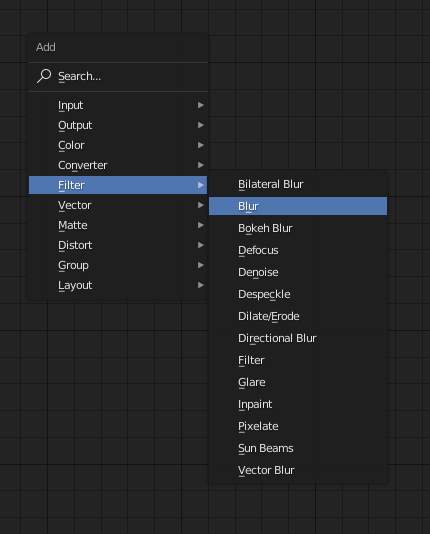
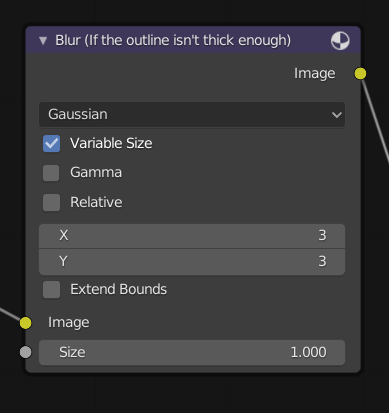
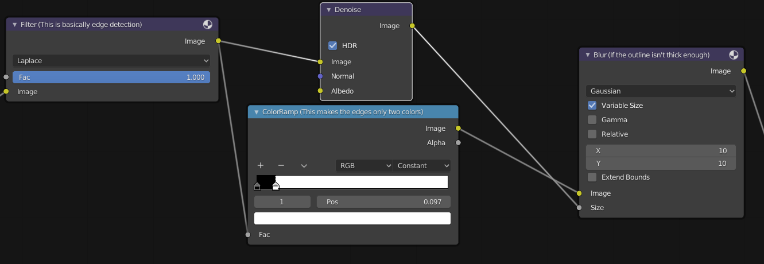
So the next step is also optional, but I've grown to like it. Our outline is pretty thin, and that can't be changed in the Laplace node or the color ramp node to any significant degree, and it'll look even more miniscule if we render in 4k. So, we're going to blur it to make it bigger, and use a color ramp node again to turn all the shades of grey into full-bright white.
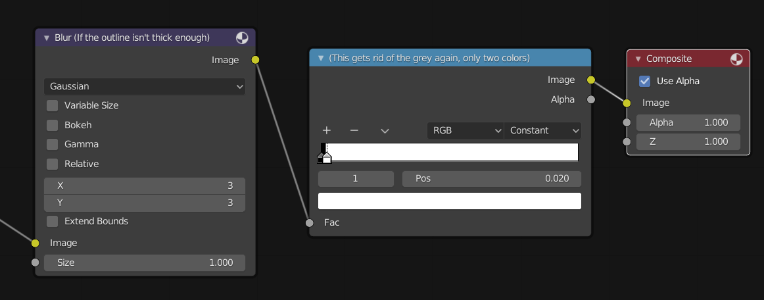
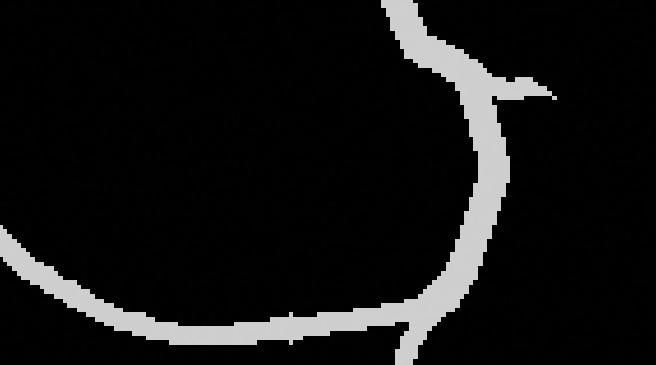
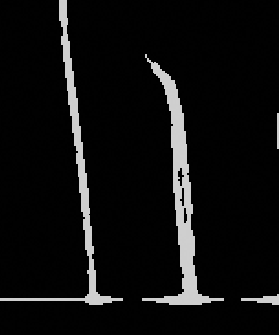
You can reconfigure the X and Y values to your liking in the Blur section, which will scale up the outlines. I imagine you can surmise what the color ramp does, so I will not explain it again. In the end, we should have a nice, thick outline.
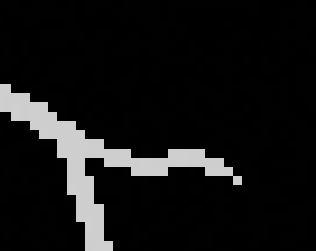
But, perhaps you're not satisfied with the thickness of the line, still. It's all got the same weight, and the sharp ends of lines are now very circular and uninteresting.
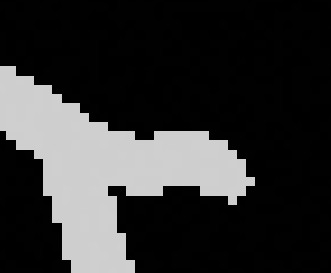
Before: After:
But luckily, there's a solution to this issue too.
Turn on "Variable Size" in Blur. This means that different parts of the image can be blurred by different amounts.
Next, feed the output of the Laplace node back into "size" input of the blur node.
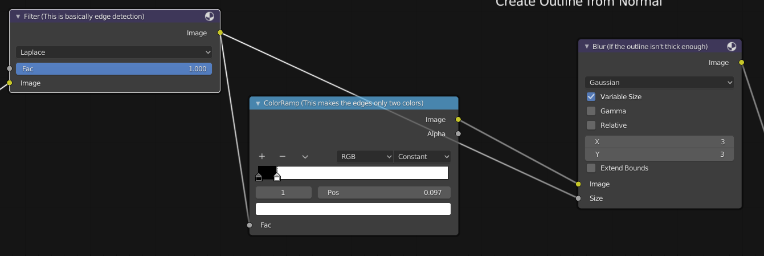
The outlines will appear thin again, naturally. Turn up the X and Y values for scaling to your liking, I'm choosing 10 to make it clear. Look at that, Variable line quality! Sharp, pointy ends!

Oh wait.
OOoooh noooo.
What is that!?
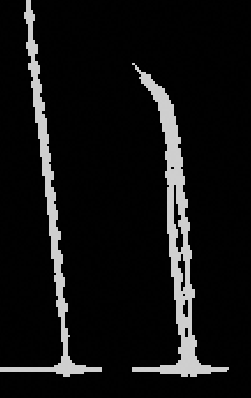
This "Beading" is the result of anti-aliasing, when the approximation of a line has to jump from one row or edge to the next, and the line abruptly gets thicker. I don't like it. Perhaps you don't either. Let's do our best to clear it out. The way I propose the solution is a very simple one. A denoise filter.

Something about this, while so barely noticeable if we were to compare the Laplace node and the denoise output, it's very effective. It doesn't outright remove the problem. bit in the end it's pretty well swept under-the-rug.
Now for me, I think that's enough fooling around with outlines. Time for Shading.
Shove all these nodes out and away, so we have room for some next set of nodes.
Let's start with this:
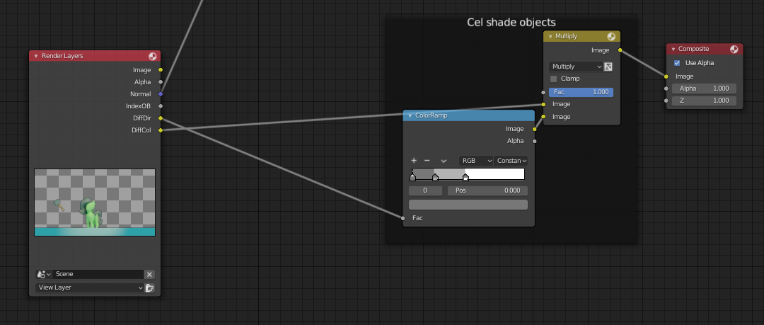
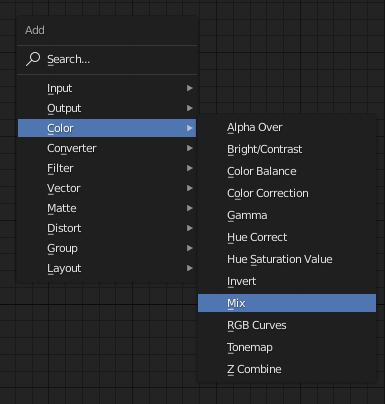
To get the "Multiply" node, grab the Color>Mix node, and set it to "Multiply" instead of "Mix" once it's down. Mix nodes function like photoshop blending modes.
Feed Diffuse Direct, the light "reflected" into the camera, into the Color Ramp. node. Add color stops either by clicking between the existing stops, or by hitting the "plus" icon. Change the color of the selected stop by clicking on the bar just above the "fac" input. I'm using greys right now, but actual colors will change looks.
Oops, again at the 20 image limit. Guess this is now a 3-part tutorial!