So I'm making a lil 1-minute movie. Not gonna go into great detail about what that movie looks like till it's done, but I'm doing a lot of compositing to get it to look the way it does:
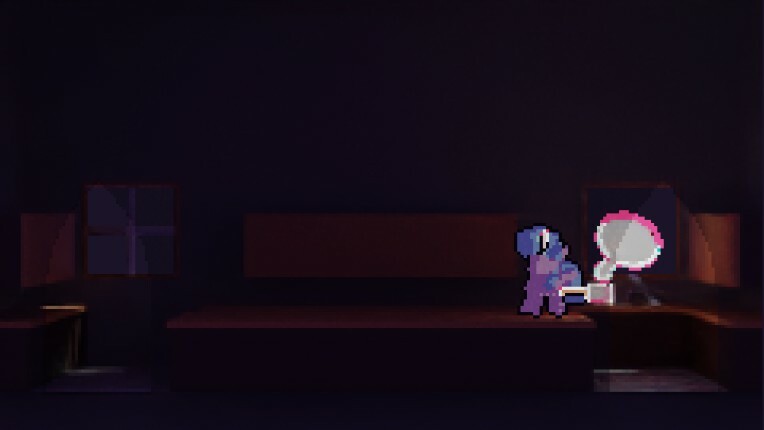
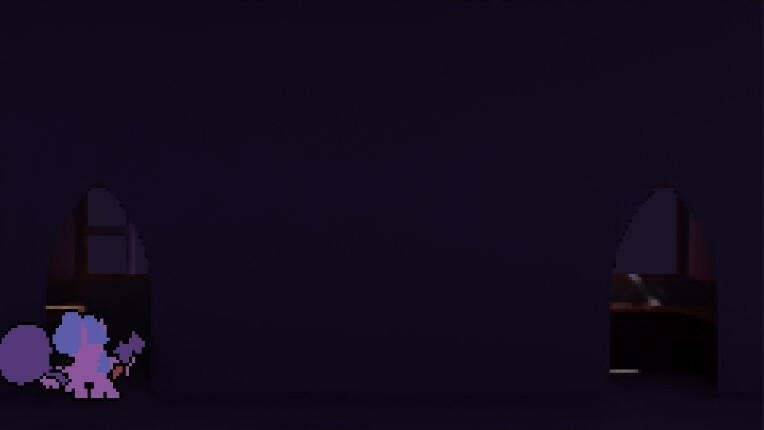
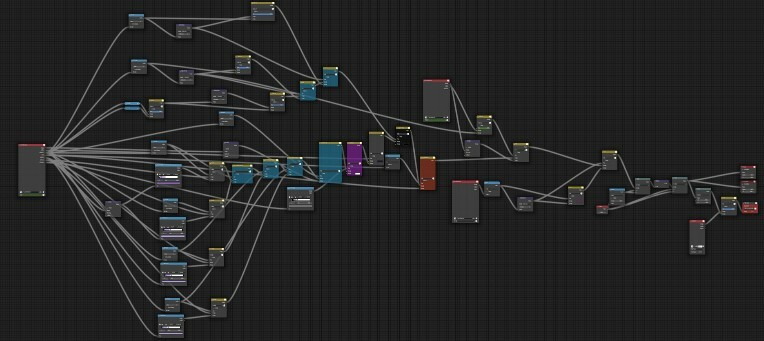
A lot of the heavy lifting is done in the compositor graph to get this animation to look the way it does. And due to the nature of the compositor graph, semi-transparent anything is really hard to do. The solution for me has been to render things I need partially transparent separately, and then mix them on top of a new view layer, which keeps things like outlines intact as seen in the second image when you're seeing through a transparent object. However, this solution pretty much ignores the worldspace of objects to accomplish it's goal, and can cause some very dissonant effects when it's worldspace and screenspace positions don't interact properly. I mean like, if in image 2, the outlined character was in front of the transparent wall in the world, the wall would still be drawn on top of them, and that has the potential to mess with your head.
With all that said, how do I get my character to appear behind the transparent wall at one point in time, and at the front in another? The answer is so deceptively simple:
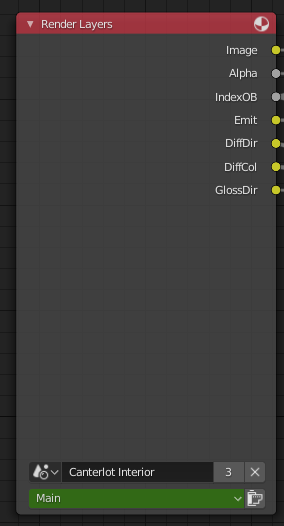

You can literally keyframe what view layer this node uses over time I have the key. It's not too hard to make sense of once you understand, but if it were your typical video editor, it's basically saying that a video layer is supposed to stay in the same place in the layer order, keep it's blending mode, keep it's location on screen etc. But the layer is keyframed to reference a different clip of footage. I have the render layer node keyframed so that it uses a more holistic view layer when the main character is in front of the wall, and so that the render layer node that previously contained the wall is blank. It works so nicely and simply, and I'm just so amazed at how many ways I overthought doing this before I just tapped "I" while mousing over the node.